

Raspberry Pi 4 + Touchscreen
Whether it's HomeBridge, a Minecraft Server, a Network Wide Ad Blocker, a Home Weather Station, or something else entirely, the Raspberry Pi has you covered. The Raspberry Pi has always been an amazing tool since it first launched, and the latest unit is no exception.
I recently picked up a new Pi and a few accessories so I could move my HomeBridge setup from my Mac mini to the new Pi and tuck it away. This project is not terribly different than other Pi projects I have done, but one difference this time is connecting up a small touchscreen to the unit so it's still "headless" but has quick access without the need for connecting a keyboard and/or mouse in case of any errors that may occur.
Here is what I got for this project:
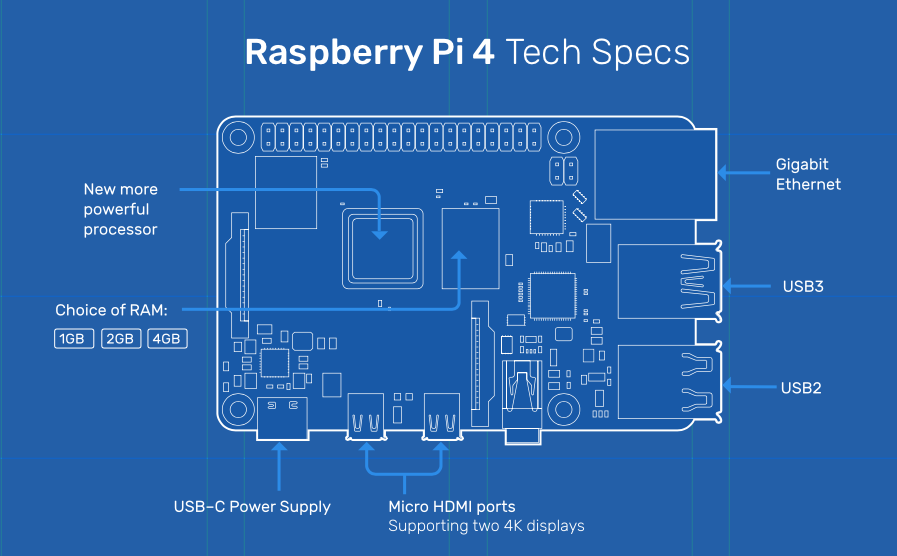
- Raspberry Pi 4 Model B - 4GB RAM ($60 USD)
More Info
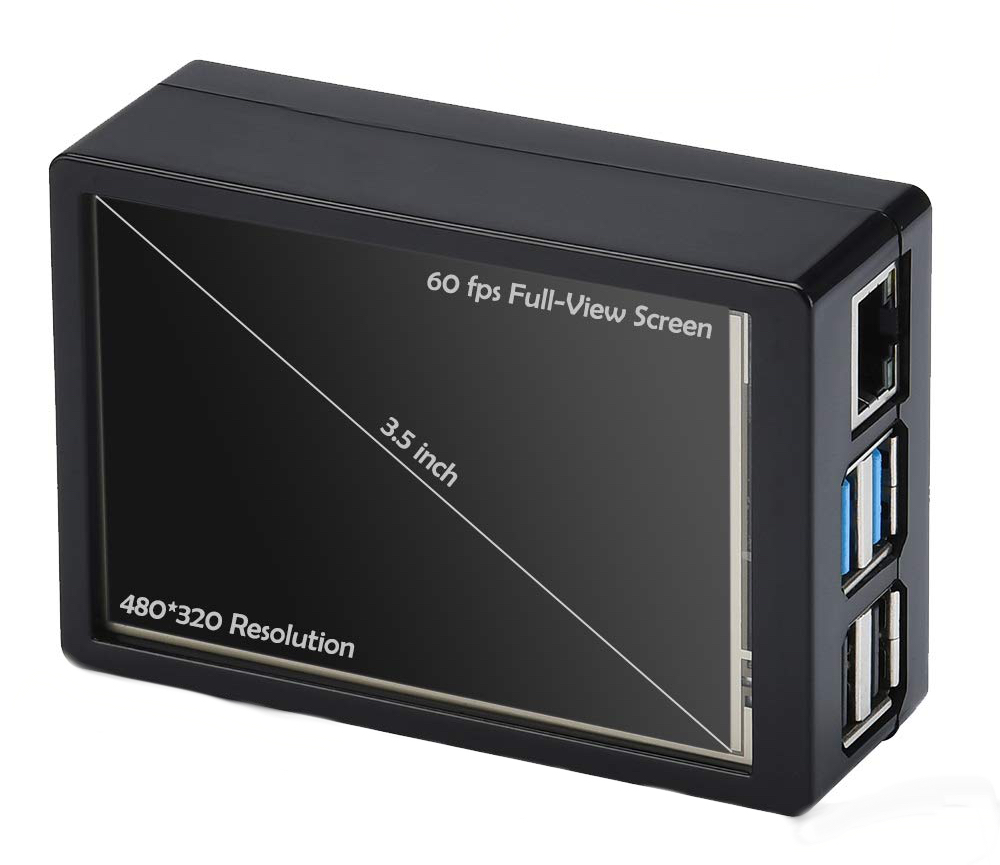
- Raspberry Pi 4 Touchscreen Kit, MazerPi 3.5 inch ($30 USD)
Amazon Link
Some other items you may need if you don't have them around already.
- USB-C Power Supply
- Micro HDMI Adapter
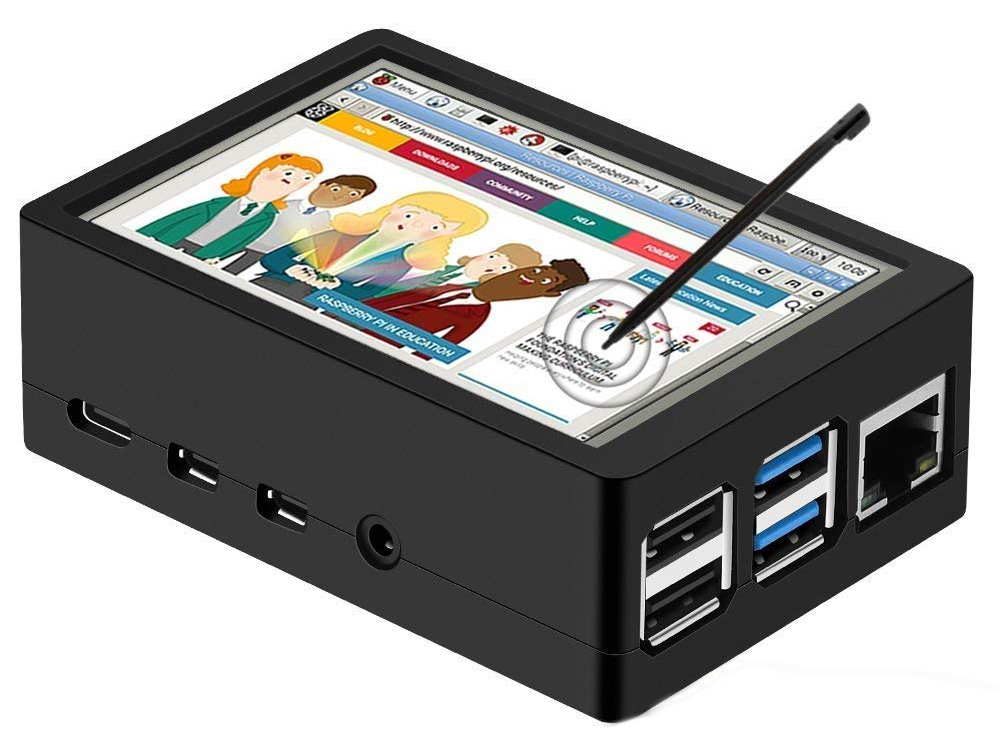
It's pretty neat having a Pi, a case, and a small touchscreen all packed together in one small cube. To be able to have an entire computer with touch input, that can run off a USB power bank is just plain cool!
I am running this Pi with plain old Raspian (version: September 2019), so you may have better or worse luck with different OS options on the Pi.
A couple shortcomings of the LCD
- Some windows just can't get small enough to entirely fit on the screen, so you will want to make sure you have some kind of remote connection available (VNC, SSH).
- After enabling the LCD, it disables both of the HDMI outputs. Which is fine if you were planing on running the unit "headless" but if you were looking to use this as an aux screen, that's a no go with this unit.